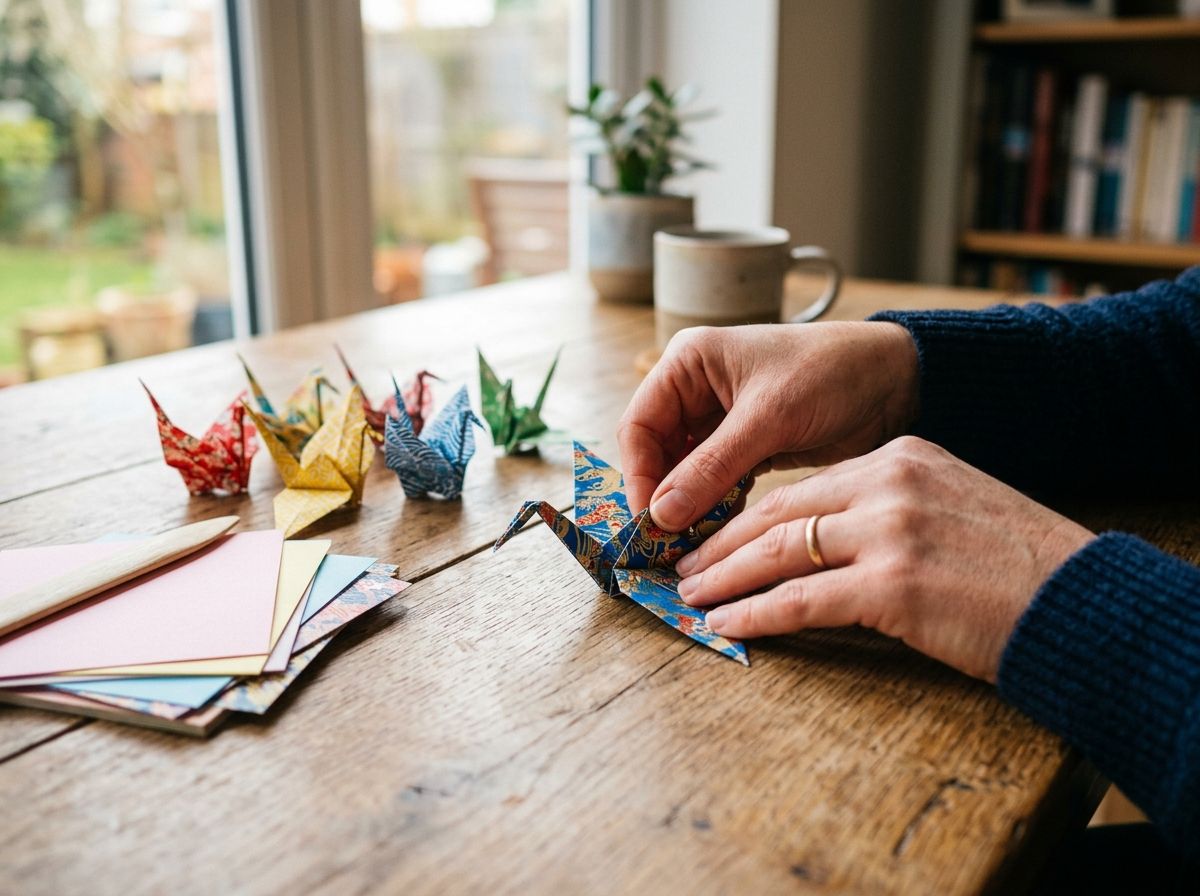
If you want to know how to fold paper cranes, the short version is this: start with a square piece of paper, fold it into a smaller square shape called a “square base,” then shape the neck, tail and wings with a series of specific folds. It takes about 15 to 20 steps in total, and most people get a recognisable crane on their first proper attempt if they follow each fold carefully.
This guide walks through the whole process from a blank square of paper to a finished crane that stands on its own and has wings you can spread out. We’ll cover the folds themselves, common sticking points, what paper to use, and the story behind why people fold a thousand of these things in the first place.
What you’ll need
- One square piece of paper, ideally between 15cm and 20cm (6 to 8 inches) per side for your first few tries
- A flat, hard surface to fold against, such as a table or a hardback book
- Patience for the first two or three attempts. Nobody folds a perfect crane first time
Origami paper works best because it’s thin and holds a crease well, but ordinary printer paper cut into a square will do the job while you’re learning. Craft shops such as Hobbycraft and The Works sell packs of origami paper in the UK from around £2 to £5 for 50 to 100 sheets, and prices do shift about depending on stock, so check current pricing before you buy.
Step 1: Make the diagonal creases
Lay your square flat, coloured side facing up if your paper has one. Fold it in half corner to corner to make a triangle, crease firmly, then unfold. Turn the paper over and fold corner to corner along the other diagonal, crease, then unfold again.
You should now have an X-shaped crease running through the middle of your square. Both of these creases need to be sharp, since everything after this step relies on them.
Step 2: Add the horizontal and vertical creases
Turn the paper so the plain side faces up. Fold it in half edge to edge to make a rectangle, crease, then unfold. Rotate 90 degrees and repeat in the other direction.
You’ll now have four creases in total: two diagonals and two straight folds, all crossing in the centre of the square.
Step 3: Collapse into the square base
This step brings all four creases together at once, so it helps to hold the paper loosely and let it fold naturally along the lines you’ve already made. Push the centre of the paper gently so the diagonal creases pop inwards while the straight creases fold outwards, then flatten the whole thing down into a smaller square with an open end facing you.
If this doesn’t collapse clean, don’t force it. Flatten it back out, check that all four original creases are properly sharp, and try again.
Step 4: Fold the top flaps into a kite shape
With the open point of your square facing you, fold the left and right edges of the top layer in towards the centre line, so the top of your paper looks like a kite or an ice cream cone. Turn the paper over and repeat the same fold on the other side.
Step 5: Petal fold to make the diamond
Fold the top point down and crease it, then unfold that fold, along with the two kite folds from Step 4. Lift the bottom point of the top layer and pull it upwards, letting the sides fold inwards along the creases you just made, then flatten down into a long diamond shape. Turn the model over and repeat the same petal fold on the other side.
This is the step most beginners find fiddly the first time, so take it slowly and follow the existing creases rather than making new ones.
Step 6: Narrow the body
Fold the left and right edges of the diamond in towards the centre line again, on both the front and back layers, so the shape becomes narrower. You should now have a slim diamond with two points sticking out at one end. These will become the neck and tail.
Step 7: Form the neck and tail
Fold one of the two points upwards along a diagonal crease, then unfold it. Use that crease to perform an inside reverse fold, tucking the point inside itself so it now angles upwards rather than sideways. Repeat on the other point to create the second leg.
You now have what looks like a paper animal with a body and two upward-pointing legs, one of which will become the neck and the other the tail.
Step 8: Shape the head
Pick which leg will be the head, then fold the very tip down using another inside reverse fold, giving your crane a small beak. Leave the other leg as the tail, or trim and round it slightly with your fingers for a neater finish.
Step 9: Fold down the wings and open the body
Fold the two wings down on either side of the body until they’re roughly horizontal. Finally, hold the crane by the base and gently blow into the small hole underneath, or use a finger to open it out, so the body puffs into a rounded 3D shape rather than sitting flat.
Give the wings a gentle pull outwards to round out the body fully, but go easy on the paper here. Thin origami paper can tear if you pull too hard, so ease it open rather than yanking.
Common mistakes when folding paper cranes
Starting with a rectangle instead of a square. Even a millimetre of difference on one side will throw off every fold that follows, so measure and trim your paper into a true square before you start.
Skipping the “crease and unfold” steps. Several steps ask you to fold, crease, then unfold before the next fold. This isn’t wasted effort. It’s building reference lines that later folds depend on.
Rushing the petal fold in Step 5. This is where most first attempts go wrong. If your model won’t flatten neatly, go back one step, check your creases are all present, and try the fold again slowly.
Using paper that’s too thick. Card or thick paper won’t hold sharp creases through this many folds. Standard printer paper (80gsm) or purpose-made origami paper works far better than anything heavier.
What paper size and type to use
| Paper size | Best for | Notes |
| 7.5cm (3in) | Experienced folders | Fiddly for beginners, ideal for making many small cranes |
| 15cm (6in) | Most people’s first attempt | The most common origami paper size sold in the UK |
| 20cm (8in) | Beginners and children | Easier to handle each fold, especially the petal fold |
| 25cm+ (10in+) | Display pieces | Good for a large decorative crane, less practical for a batch of 1,000 |
The 15cm square is what most UK craft shops stock as standard “origami paper,” so it’s a sensible size to start with unless you’re folding alongside younger children, in which case the 20cm size gives small hands more room to work with.
The story behind a thousand paper cranes
There’s a Japanese tradition called senbazuru, meaning “a thousand cranes,” built on the belief that folding 1,000 origami cranes grants the folder a wish, often connected to healing, long life or good fortune. The tradition is closely tied to the story of Sadako Sasaki, a young girl from Hiroshima who folded cranes while ill following the 1945 atomic bombing, and whose story is still taught in schools around the world today.
Groups of cranes strung together, often 25 to a string for 40 strings, are commonly given as gifts for weddings, recovery from illness, or as memorials, and the crane itself is widely used as a symbol of peace and resilience.
FAQS
How do you fold a paper crane step by step?
Start with a square of paper folded into a square base using diagonal and straight creases, then narrow the shape with kite folds and a petal fold, form the neck and tail with inside reverse folds, shape the head, fold down the wings, and finally open the body so it puffs into shape. The whole sequence takes roughly 15 to 20 individual folds.
What size paper is best for a first paper crane?
A 15cm (6 inch) square is the standard size sold as origami paper in the UK and works well for most first attempts. If you’re folding with children, a slightly larger 20cm square gives more room to manage each fold.
Why won’t my paper crane’s body puff out?
This usually means one of the earlier folds, especially the petal fold or the square base, wasn’t creased sharply enough. Go back, firm up every crease with your fingernail or a bone folder, and the body should open out more easily.
Can I use normal printer paper instead of origami paper?
Yes, ordinary 80gsm printer paper cut into a true square works fine for learning the folds, though it won’t hold creases quite as crisply as dedicated origami paper. Avoid card or anything much thicker, since it won’t fold cleanly through the later steps.
How long does it take to fold 1,000 paper cranes?
Once you’re comfortable with the fold, most people manage one crane in 3 to 5 minutes, which puts 1,000 cranes at somewhere between 50 and 85 hours of folding. Many people spread this across weeks or months, or fold as a group to share the workload.
What does a paper crane symbolise?
In Japanese culture, the crane represents peace, healing and long life, largely thanks to the senbazuru tradition and the story of Sadako Sasaki. Strings of 1,000 cranes are commonly given as gifts for recovery, weddings or as memorial offerings.
Is folding a paper crane hard for beginners?
It’s considered an easy to intermediate origami model, and in Japan many children learn to fold one in primary school. The petal fold in the middle of the sequence is the trickiest part for most beginners, but it becomes straightforward with a couple of attempts.
Where can I buy origami paper in the UK?
Hobbycraft, The Works and Amazon all stock origami paper packs, typically priced from around £2 to £5 for 50 to 100 sheets depending on size and pattern. Prices vary by retailer and change fairly often, so it’s worth comparing before you buy.